I'M GIVING AWAY A NAKED 3 PALETTE

RULES :
1-must be a follower to my blog
2-comment below and tell me who is the one person who affected you life and how ..
3-the giveaway is open till the 27th of December
good luck everybody
xoxo

Makeup and fashion heaven ....

Rich, yet mild soap-free cleansing foam that gently rinses away make-up, impurities and grime. Soothing and calming on sensitive skin. Dermatologically approved and clinically proven as suitable for sensitive skin.


Ok, so this does exactly as the description states above - EXACTLY. Note this can be used all over the face aswell as under the eyes.
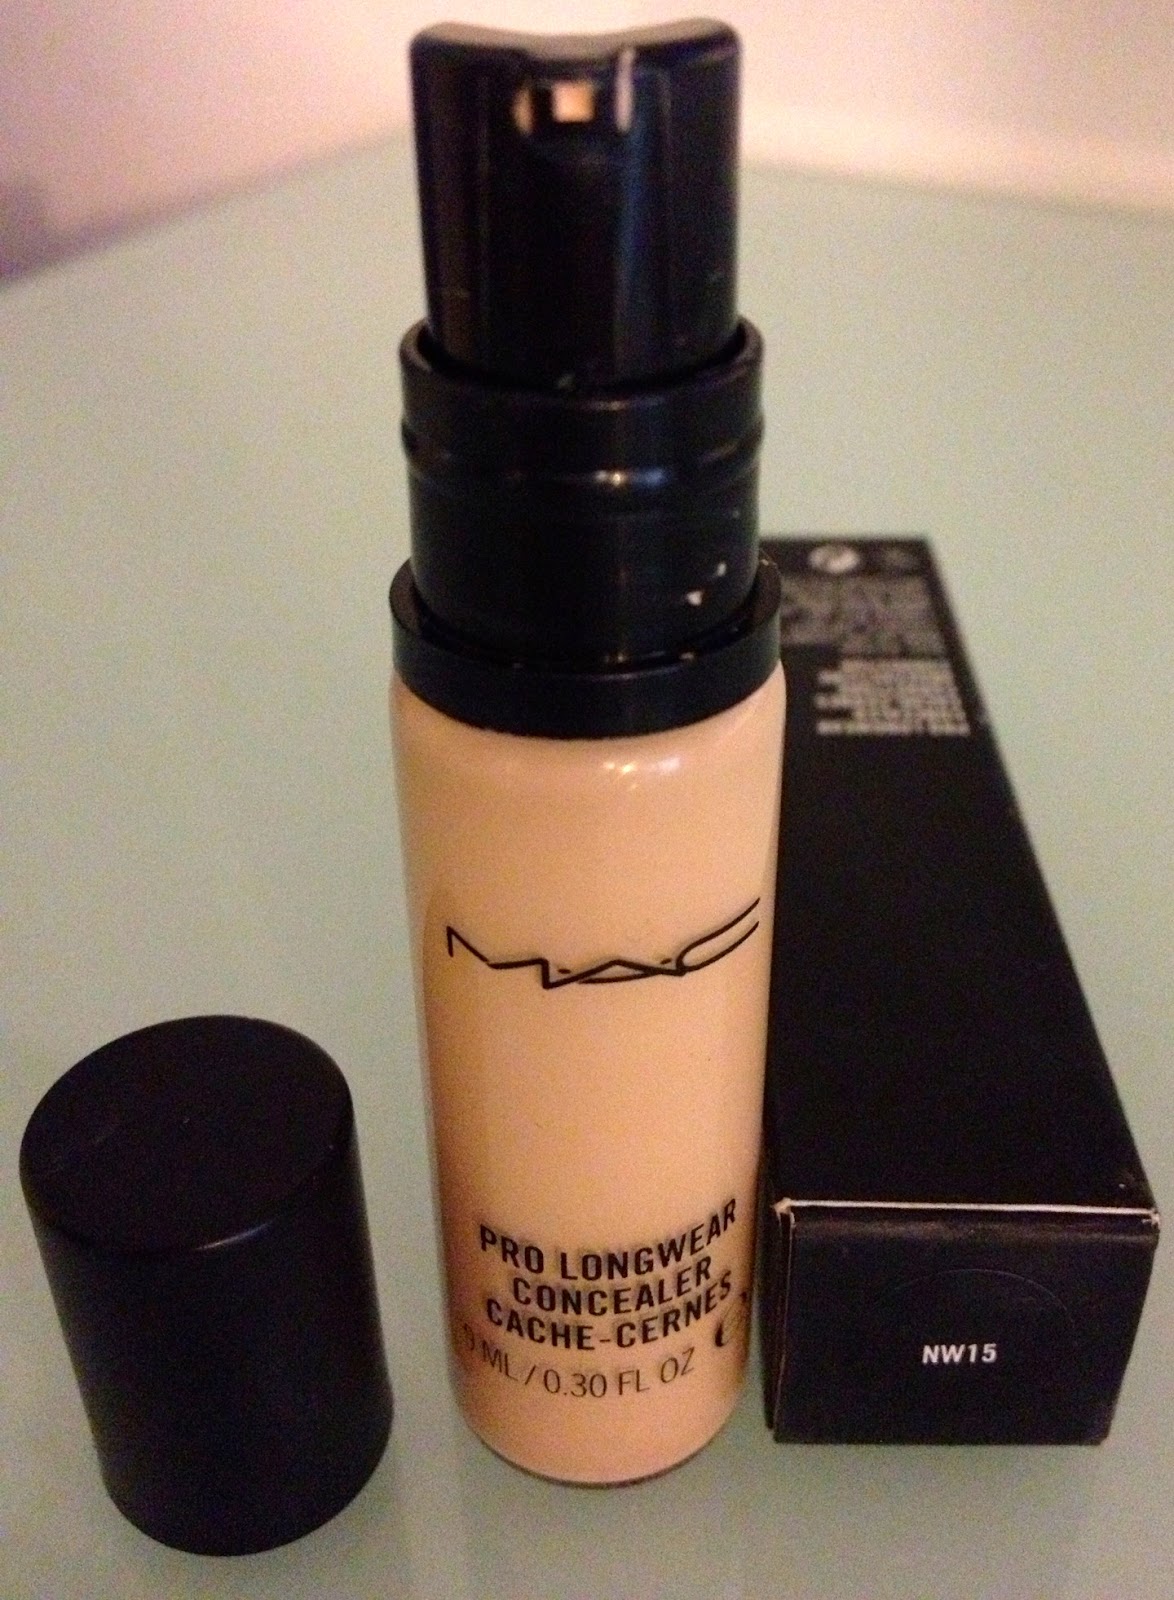 |
| Swatch: MAC Pro Longwear Concealer NW15 |
I have the shades NW15 and NW25 which matches the tone under my eyes perfectly, just being a little lighter than my skin tone and 'highlight' the eye area. I do suggest you go to a MAC counter or stand alone store to get colour matched if your new to MAC as you want to get the shade for under the eyes very precise.
Application -
The only 'small' downfall is with the packaging and the pump nozzle as you get a lot of product out from just one pump and you can end up wasting a lot of product as please note: you only need a small amount. Try (if you can) to control the pump to get as little out as possible, but it is tricky. The main reasons companies do use pumps is just for good hygiene.
I pump a small amount onto the back of my hand, then use a fluffy concealer brush to blend and buff this under my eye then use my ring finger to gently melt it into the skin. I then finish off by setting with a little translucent powder.
With the concealer left on my hand, I then use on the rest of the face on areas I want to 'highlight' like tops of the cheeks, brow bone, nose .... this works perfectly for the famous 'Kim Kardashian' highlight/contouring trick!
 |
| Swatch: MAC Pro Longwear Concealer NW15 |
The concealer blends beautifully into the skin but it can set quite quickly so make sure you work with it straight away once applied. You can see from my photos that it really does smooth and blur fine lines, hence demonstrating on my hand where I have many fine lines from all my cinderella duties.
 |
| Swatch: MAC Pro Longwear Concealer NW15 |
The Results -
Once applied, your eye area instantly looks a-mazing. You'll find dark circles are no more, the skin looks smoother and line free as even though this is a matte finish, this does not dry into those fine lines or look dry like many other thicker concealers, it just has the ability to make you look fresh and like you have had a full 8 hours sleep!
| I have often found with some other high end and lower end concealers you need to touch them up throughout the day as you start to lose that brightness around the eye but this one STAYS PUT all day long without the need to reapply at any point but still looking fresh like you have only just done your make-up. It is there until you cleanse and remove all of you make-up which can be a full day like it claims. Is that not what we all want from a concealer? I know I do. |
J'Adore!
Seriously impressive stuff and ticks many boxes for me. I cannot say enough good things about this product, not only does it win in the performance and quality stakes but for the price of only £14.50/€17/$18 for 9ml you know this shall last a very long time, so value for money speaks for itself.
Lets just hope they change the pump application maybe in the future but for what it does, I can go with it! I shall most definitely be repeat purchasing this if it ever runs out as it shall surely be a make-up staple for me from now on.

I was supposedly colored matched to be NW25. However, when I got back home it turned too dark for me .so I contacted the mac customer service and they shipped to be 4 concelers in my shade NW15 .. That was AWESOME <3
I hear that most people rave about using it with a beauty blender but since I don't own that :( I use my MAC 193 brush which is ok for now ...
Hope that was helpful
 xoxo
xoxo


.JPG)
“Give into your craving and enhance your beauty! All the intensity of light captured in a fine pearly powder for an instant burst of radiance. Its delicious perfume and ultra soft texture will have you melting with pleasure. Apply with the brush over your delletage and add highlights to your face (forehead, cheekbones, chin) for a sheer luminous result”.

